 |
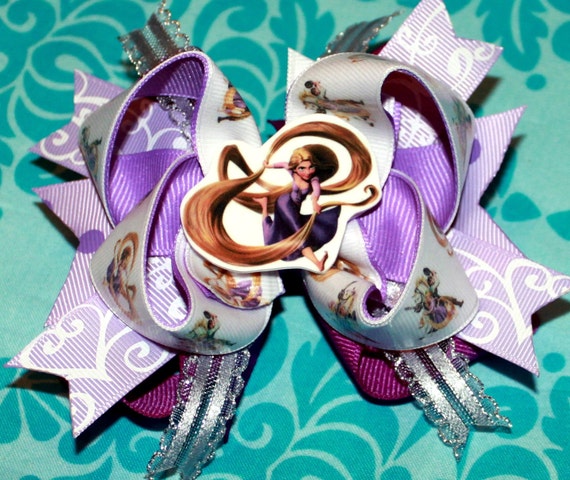
| Tangled Hairbow |
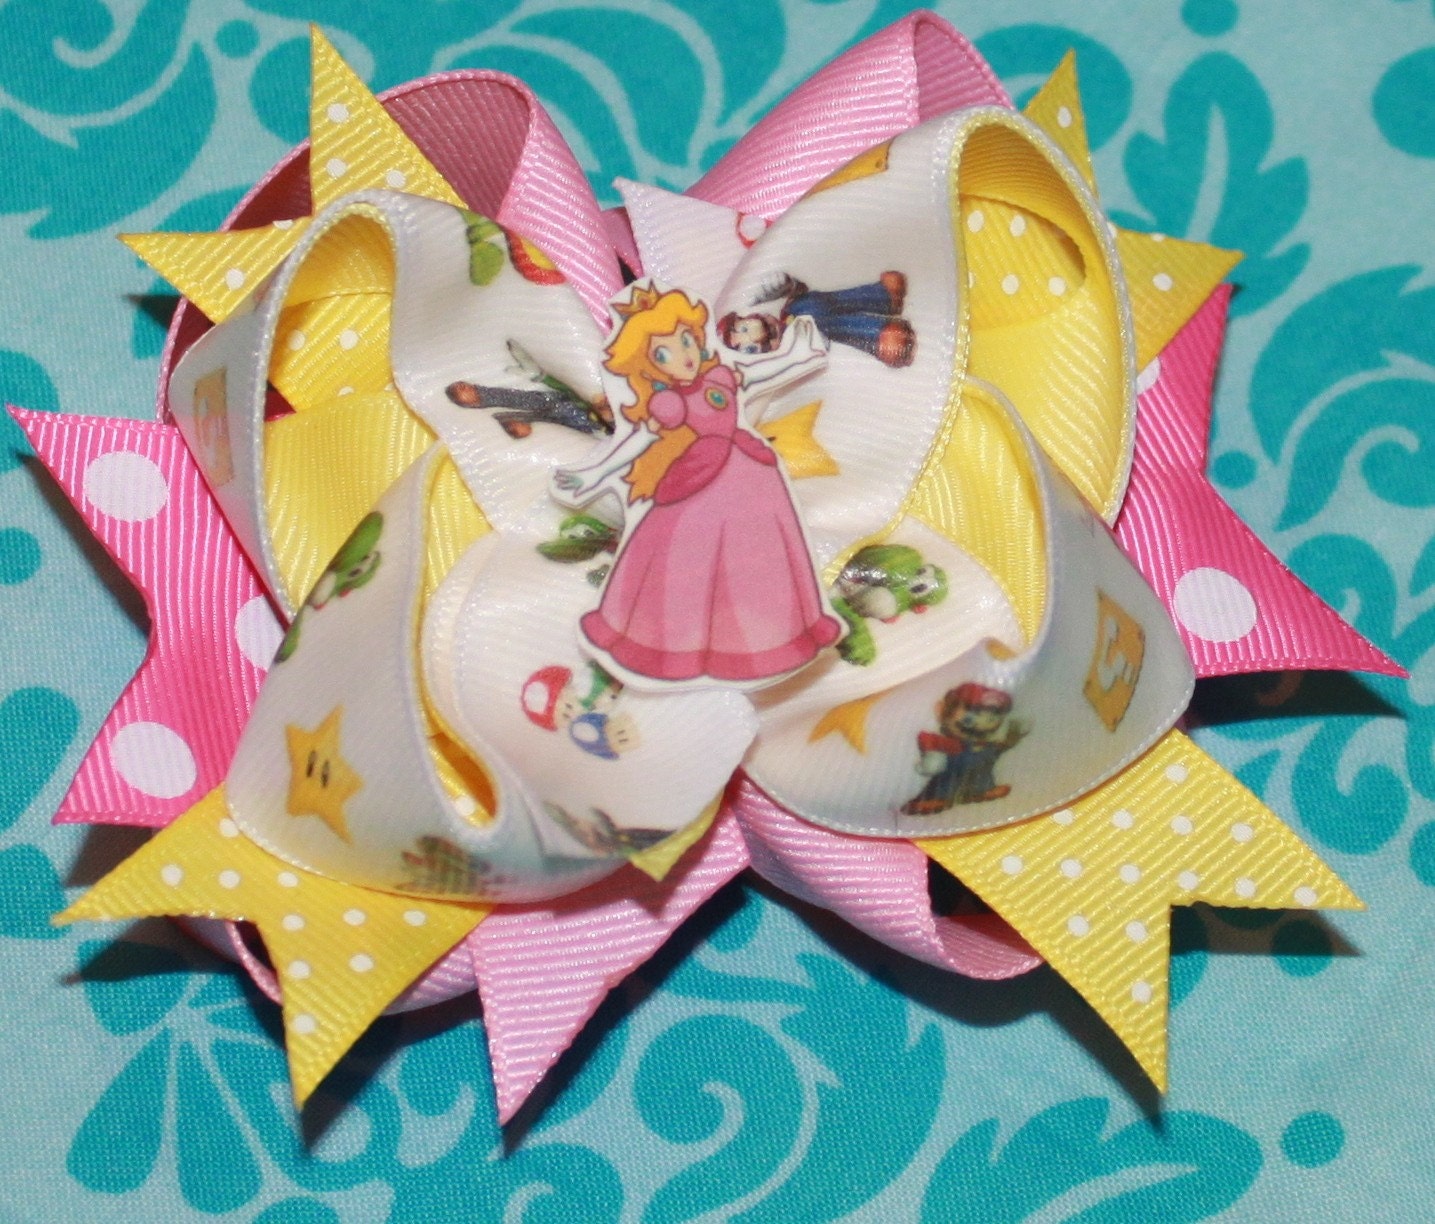
For a while now, I have been playing around with new ideas and techniques (well, new to me anyway :o) and I got the nerve to print my own ribbon. It is much easier than I thought...although you have to really pay attention or things can go very wrong! You're not actually printing your own ribbon, but ironing the images onto the ribbon with iron transfer paper that you have printed your designs on.
Things you need include ink jet iron transfer paper, ink jet printer, iron, and ribbon. There are several tutes on how to complete this process. The first time I tried it had to be about a year and a half ago, and it was a disaster! Anyway, follow the directions and you can't go wrong! Here are some of my lessons learned:
1. Use a hot, dry iron and only press for about 15 seconds. If you press longer, your image will yellow. You might think holding the iron on longer will ensure your images transfer, but it just makes them discolored.
2. Make sure you use a cloth to press between the iron and ribbon. Grosgrain ribbon is polyester....and hot irons don't play well with polyester.
3. Allow the ribbon to cool before you peel off the transfer paper. This will ensure your image has stuck to your ribbon. If you start to peel and the images aren't properly transferred, you can hit it with an iron for a couple more seconds.
4. I have found the best ribbon to still be Offray...the texture just helps keep the transfer better (in my opinion!) The smoother the ribbon, the harder it is for the image to stick...again just personal experience here.
5. You can purchase "Print Your Own Ribbon" graphics on etsy from several different places. I have learned how to create my own graphics.....but that is another topic altogether!! My lesson learned here is to make sure you flip your images before printing.....example to follow! If you look closely...the question mark block is backwards...ha! I have to learn by doing, apparently!

Hope you enjoyed today's post! I love when I learn something new :o)


Love it!
ReplyDeleteThanks, Becca!! Boy do I learn the hard way sometimes :o)
ReplyDeleteI just found you :) thanks for the tutorials, how do you make the matching bow centers?
ReplyDeleteYou can actually print directly onto the ribbon:)
ReplyDeletehttp://www.ehow.com/how_6174927_print-ribbons.html